|
|
How to plant Plumeria Seedlings
The following process is how I plant my plumeria seedlings. Others may have their own variations so pick whats best for you!
1) Select the container that you will be using for your plumeria seedlings. I have used black plastic trays that contain multiple slots for the seedlings. I find this tray more useful since the seedlings are all in one area. Small single containers will also work.
(You could also ask your local nursery or garden store if they have any leftovers from their plant stock.)
I chose the darker plastic containers to attract more sunlight. If you are planting your seedlings in a light colored container, you could always place the container on something dark. This will have the same affect.
2) Prepare your containers with soil. Make sure the soil is a mixture of soil and perlite. Remember, the perlite helps with water drainage. In the beginning stages, it is very important for the root system to have good drainage.
3) When planting your plumeria seedlings, you are going to plant the plump end in the soil and let the wing of the seed stick out of the soil.
 |
 |
4) Water your seedlings. Be very careful when watering. A heavy stream of water will move the seedlings placement. If the placement is moved, just go back and fix it. I drilled a small hole in the cap of a water bottle to use as my watering gun. It provided a very gentle water flow
5) Place the plumeria seedlings in a sunny area. Preferably an area that has full sunlight throughout the day.
Tip: If you begin growing the seedlings in an area that is partial sunlight and want to transfer them to an area that is full sunlight, you will need to this gradually.
EXTRA: If you decide to take a chance and plant the seedling directly in the ground, you may see flowers sooner than other planting methods. Like I said, it’s a chance you take.
|
This is a perfect tray for starting your seedlings off the right way. I have tray that is similar that has lasted me for several years! Plus there are plenty of holes and each hole contains a drainage for the water. |
When will you see the Plumeria Seedlings Start to
Grow?
Within 3-14 days, the seeds will begin to sprout. My first bunch didn’t sprout till the very end. If you have children or if you are just fascinated by the growing process, keeping a journal helps. Each day, I would check on my plants and make notes on what I saw. In the beginning, I was very impatient because I wasn’t seeing anything different. However, when the seedlings began to surface, I started noticing a lot of transformation. As your seedlings grow, the outer casing will fall off naturally. During this process, the seed may begin to develop leaves. In 8 weeks your seedling may reach 6 inches in height. Once the seedlings reach 4-6 inches in height, you may repot them in a 4-6 inch pot. Make sure that you use a well-drained potting mix. Continue to transplant your plumeria seedlings as they outgrow their pots.
How Many Seedlings will I get?
Within 1 seed pod you may acquire 25 -100 seedlings. This varies with each plumeria and the age of the plant. However, throughout the whole process, you may only have a few seedlings that make it. You will be able to feel which seed has an embryo by feeling the plump side of the seed. If it’s flat, you can disregard the seed.
 |
 |
The Color of the Seedling
|
Plumeria seedlings are not necessarily the same color as
the plant it came from. The best way to receive a variety of colors, is by
planting several different types of plumerias in the same area. Rainbow
plumerias give off the most unique colors. When your seedling gives off their
first bloom, it doesn’t necessarily mean that future blooms will look the same.
Within the first three to five years, the color and shape could alter. |
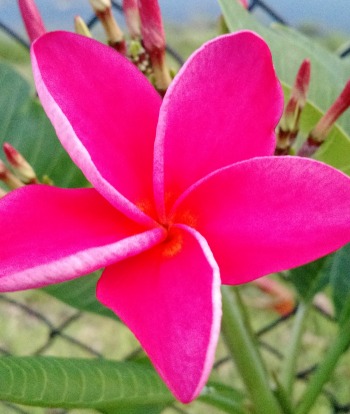
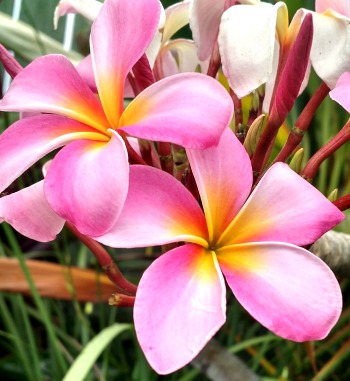
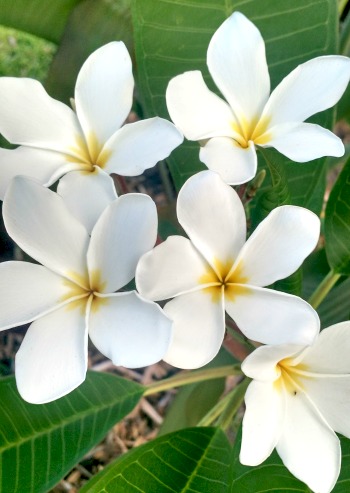
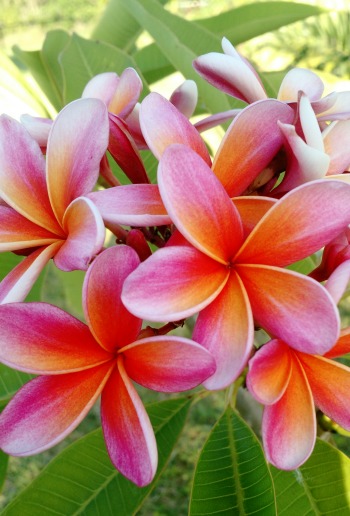
Just a few of the many different color plumerias you may see.
What type of Fertilizer to Use?
Normally, they tell you to get a fertilizer that has a high phosphate level (Middle number on the sets of number….Example: 10-30-10). Since the seedlings are just beginning to grow, they do not need as much phosphate. Phosphate is for mature plants that have already established a root system. After the seedling has germinated, you can feed them every ten days with a liquid fertilizer at half strength. Once they have reached a year, it will be time to change to 18-6-12 fertilizer.


New! Comments
Leave me any questions and comments in the box below.